How to use your laptop as a monitor in Windows 11
Wondering how to use your laptop as a monitor in Windows 11? We go through all the steps and methods available to you.
There are many reasons why someone might need a second PC monitor, such as to check on what chat is saying during a stream, or to put reference documents when working or doing homework. PC monitors can be expensive, but if you happen to have an old laptop lying around there is another solution to give yourself a second display.
Thankfully Windows 11 gives you most of the tools you will need natively, just follow this guide to give yourself a second display to use.
Use Windows 11’s display settings
This method can be done either using a wired HDMI connection, in which case your PC and laptop need to be connected using a HDMI cable. Alternatively, you can use a wireless connection if both PCs are on the same WiFi network.
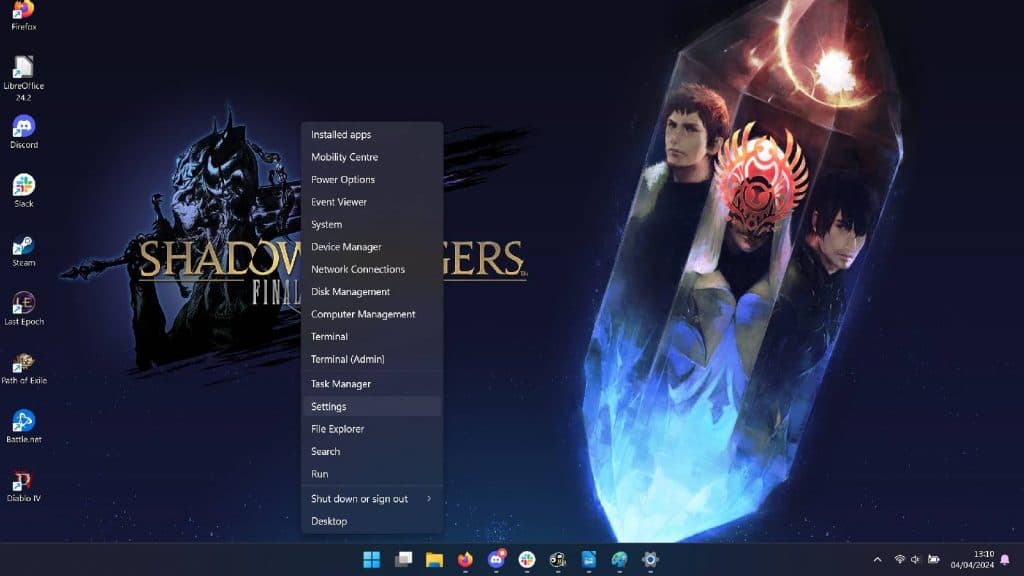
- Open the Windows Start menu and go to ‘Settings’
- Navigate to the System menu
- Click on ‘Display’

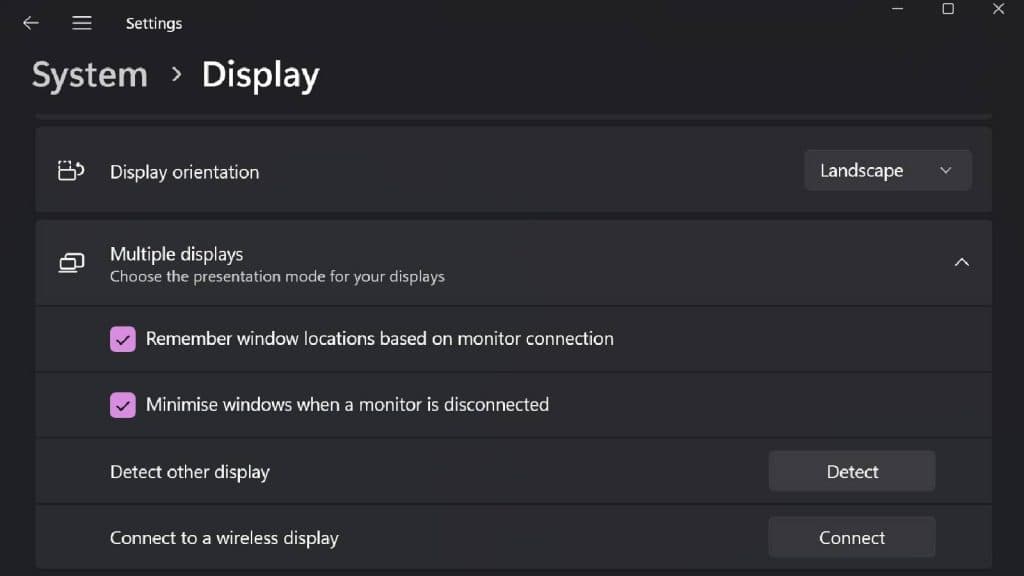
- Go to the section marked ‘Multiple Displays’ and click the arrow to expand the menu.
- If you are using a wireless display, click ‘Connect’. This will open a new window with your casting options.
- Select the device you wish to cast to, and what settings you want to use for the display.
- Note: For productivity, the Extend option is a better choice, with Duplicate or Second screen suitable for functions such as presentations.
- If using a HDMI connection, you should see the device you are trying to connect to appear in the Display menu. Select the device to project to this display.
- If you have problems with connecting via HDMI, go to the Multiple displays menu and click ‘Detect’. This should locate the laptop screen. Then follow the above steps again.
Use Windows Wireless display
This alternative method needs both the PC and laptop to be connected to the same WiFi network. Make sure they are both turned on and connected to WiFi before you begin.
- Right-click on the Windows icon on the taskbar.
- Navigate to settings and click on “System”.
- Scroll down until you locate the setting marked ‘Optional Features’ and click on it.
- Next to where it says Add an optional feature, click on the button marked ‘View features’
- In the new window that opens, type Wireless Display into the search box and press enter.
- The Wireless display option should then appear below. Click the tick box to activate it and click ‘Next’
- Click on ‘Install’ on the next screen and wait for the installation to complete.
- Once this installation has finished, return to the Windows System menu. The option to ‘Project to this PC’ should now be available. Select it.
- Adjust the settings according to your requirements.
- Press the Windows key and K together. This will open the ‘Cast’ menu

- Select your laptop from the available displays and choose from Duplicate, Extend, or Second screen as needed.
- Your laptop should now be acting as a second display.