How to get Outbreak Perfected in Destiny 2: Zero Hour exotic mission guide
 Bungie
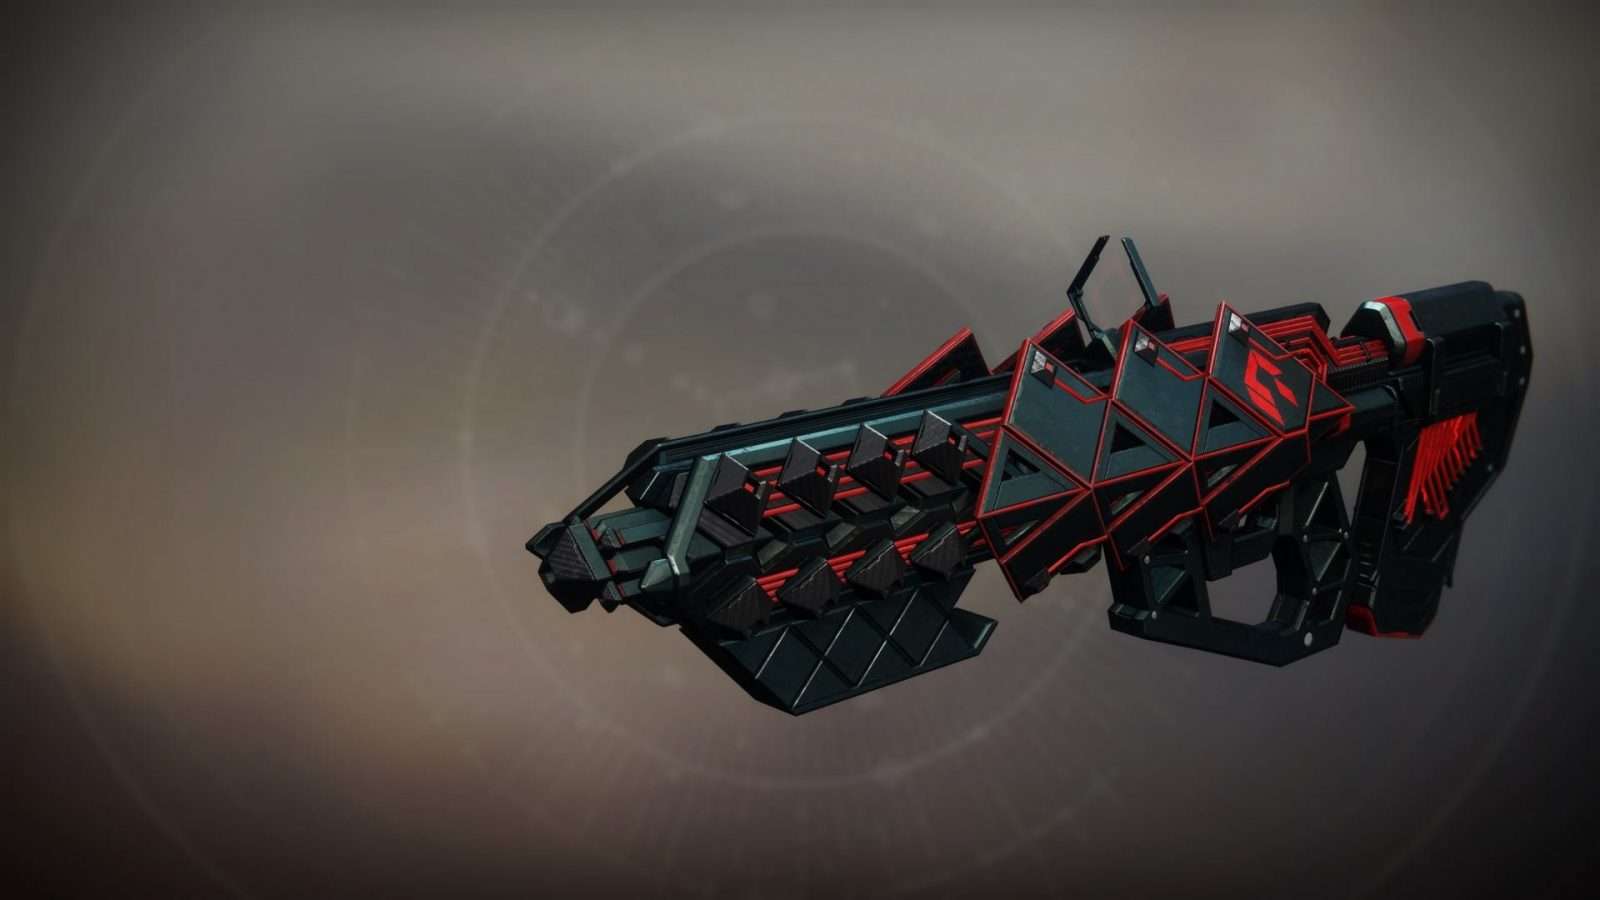
The Outbreak Perfected has made its way back to Destiny 2 and here is how you can get it.
Outbreak Perfected is a classic Destiny 2 weapon that is inspired by Outbreak Prime from Destiny 1’s House of Wolves DLC. This weapon releases SIVA Nanites and can shred through bosses and smaller enemies. This weapon was once used to achieve the World’s first in the Crown of Sorrow raid.
However, the exotic mission that rewarded this weapon was removed from the game as part of Bungie’s sunsetting activities. It is back once again with Into the Light, and this time with craftable perks like Rapid Hit and Headseeker. The Outbreak Perfected used to be massive, but now it is even better.
If you are looking to get your hands on the weapon, here is what you need to know.
Contents
- How to get Outbreak Perfected in Destiny 2
- How to defeat the boss in Zero Hour
- Best class and weapons for Zero Hour
How to get Outbreak Perfected in Destiny 2
The Outbreak Perfected is similar to how it was previously. You need to complete the exotic mission Zero Hour to access the weapon. These are the steps you need to follow for that:
Step 1: Visit Ada-1
 Bungie
The first step is to visit Ada-1 in the tower and pick up the quest. The quest is called Asset Protection. The objective of the quest is to complete the Zero Hour mission. After accepting the quest, launch Zero Hour from the Into the Light Directory.
Step 2: Clear the courtyard
 Bungie
As soon as you enter Zero Hour, you will hot drop into the old Destiny tower. Proceed forward and you will pass two different courtyards. Clear both of them and make your way to the first hanger.
Step 3: The first Hanger
 Bungie
After you proceed through the first area, you will come across a hanger-looking area. This area is filled with Fallen vandals, shanks, and servitors. Apart from that, you will also find a Spider here. Defeat all of them and proceed forward.
Step 4: Hit the open area
 Bungie
After you clear the hanger, you will enter an enclosed room filled with Fallen. Defeat all of them, and pass through multiple corridors. Once you do that, you will hit an open area. Here you will notice a destroyed ledge that you need to cross and enter through a crouchable door.
Step 5: The second hanger
 Bungie
Upon entering the crouchable door, you need to jump down. Once you hit the bottom, pass through another door, and reach the second hangar. Here you will notice an aircraft. In the normal mode, you need to pass through a hole in the ground under the aircraft.
Step 6: Make your way outside
 Bungie
After jumping down the hole, proceed until you have to jump again. Here you will notice six doors and you need to take the one that is right under from where you jumped. Pass through that door, and you will end up on the outside again.
Step 7: Jump into the ventilation shaft
 Bungie
After you make it outside, you will be standing on hanging platforms. From here, take a leap of faith, and you will notice a small platform extending outside. Jump safely on the platform and then jump forward again.
Here you will see a bunch of small platforms extending from the wall. Jump on them and make your way to the third platform. Look up and you will see a ventilation shaft. Jump inside that shaft.
Step 8: Rotating Turbines
 Bungie
After jumping into the ventilation shaft, proceed forward. You need to go up a bunch of small ledges until you reach the very top. Upon reaching the top break the ventilator door and walk in.
After you pass through the ventilation pathways, you will reach a small bridge and notice multiple rotating turbines underneath it. Your objective is to make your way to the lowest turbine safely. The trick here is to jump by hugging the red walls, where the blades do not reach.
Be careful, as every turbine will have an exploding shank waiting for you. Once you reach the lowest turbine, take the small door, and exit the room.
Step 9: TR3-VR
 Bungie
After passing the Turbine room, you will cross a small platforming section and reach a control room. From the control room, pass through a small opening on the ground and it is time to meet TR3-VR. For those who are new to this, TR3-VR is a robot that moves at breakneck speed through small pathways in an enclosed room.
Your objective here is to hit four switches on either side of the room and try not to die to TR3-VR. It is important to mention that you cannot hurt TR3-VR by any means. If it runs after you, your job is to hide in small openings that you will find along the walls of the enclosed room.
In any case, once you have hit all four switches, make your way to the elevator towards the end of the room.
Step 10: Pass the burning path
 Bungie
After you reach the elevator room, hop on one of them and reach the top. From here, slide down until you reach the bottom. Here take a right and you will reach a vault. In the vault, look for a door with a square marking at the bottom.
Once you do, the door opens and you will be greeted with a floor that is divided into square boxes. You need to know the correct path for that particular week. If you do not walk over the correct boxes, you will get fried instantly. You cannot fly over the path either.
The correct sequence can be found drawn on a wall in the vault room.
Step 11: Make your way to the boss
 Bungie
After you have passed the burning floor, you will reach the collectible room. Here you need to make your way to the end and take a right. Jump down and you will reach a room with a “Place a Rally” marking. Place a rally banner, load up your ammo and super, and jump down the opening in front of you to reach the boss, Siriks of House Salvation.
Step 12: Collect Outbreak Perfected
 Bungie
After defeating the boss, collect the Schematic from the chest. Visit Ada-1 once again and collect your brand-new Outbreak Perfected.
How to defeat the boss in Zero Hour
 Bungie
The boss of Zero Hour is difficult. Once you jump into the room, you will be cornered by multiple adds and the boss will be in front of you. Follow the steps listed below:
- Start damaging the boss with Polaris Lance
- After damaging for a while, the boss will teleport
- Take this moment to defeat some of the adds and clear the room for a bit
- Once the boss reappears again, damage it
- The boss will move across the room, so take note while placing your Well of Radiance
- Once the boss is about to die, it will summon a massive Brig
- This Brig is difficult as it will bombard you with orbital lasers
- A well of radiance will keep you alive
- Once you defeat the Brig, the encounter ends
- Collect the chest after the encounter ends
Additionally, you must take down the Servitors as fast as possible as these will make the adds and the boss immune.
Best class and weapons for Zero Hour
 Bungie
The best class to use in Zero Hour is Solar Warlock. You can use Void Hunter or Strand Titan as well. However, a Warlock with Phoenix Protocol will keep you alive through all the adds and boss damage.
For weapons, keep Mountaintop in your Kinetic Slot and an Apex Predator in your Heavy slot. In the energy slot, keep a Sunshot for the early sections of the mission and switch to Polaris Lance for the boss phase.