Destiny 2: Atlas Skews Week 3 locations
 Bungie
We’re back in the carousel for Destiny 2’s weekly quest Tracing the Stars. It’s getting a bit tiresome to run Mara Sov’s errands every week, so it’s nice that we only have one more version of the quest to take care of after this. Here’s everything you need to know to complete Tracing the Stars III.
We are only one week away from the end of the Tracing the Stars questline. While it is exciting to know that the end is almost here, we can’t get too far ahead of ourselves yet, as this week’s edition may be the most difficult one yet.
In true Sov family tradition, Tracing the Stars III is a pain to complete. Thankfully, we’ve found the easiest routes through the Dreaming City and have compiled everything you need to know. It may not be the easiest quest you’ll do this week, but there’s only so much that can be done when the Queen of the Reef is involved.
If you haven’t completed the other Tracing the Stars weekly quests, you can find our guides here.
Contents
- How to start the Tracing the Stars II quest
- All Atlas Skews locations
- Completing A Hollow Coronation
- Turning in Tracing the Stars III
How to start Tracing the Stars III
As with the previous two weeks, you’ll be visiting the Wayfinder’s Compass back at H.E.L.M. to get started. Once you have the quest, venture through the portal and speak with Mara Sov. She has no time to waste on us this week, so there’s no additional information you need to stick around for. Simply talk with her and then head out to Rheasilvia to get started.
How to find all the Atlas Skews in Tracing the Stars III
 Bungie
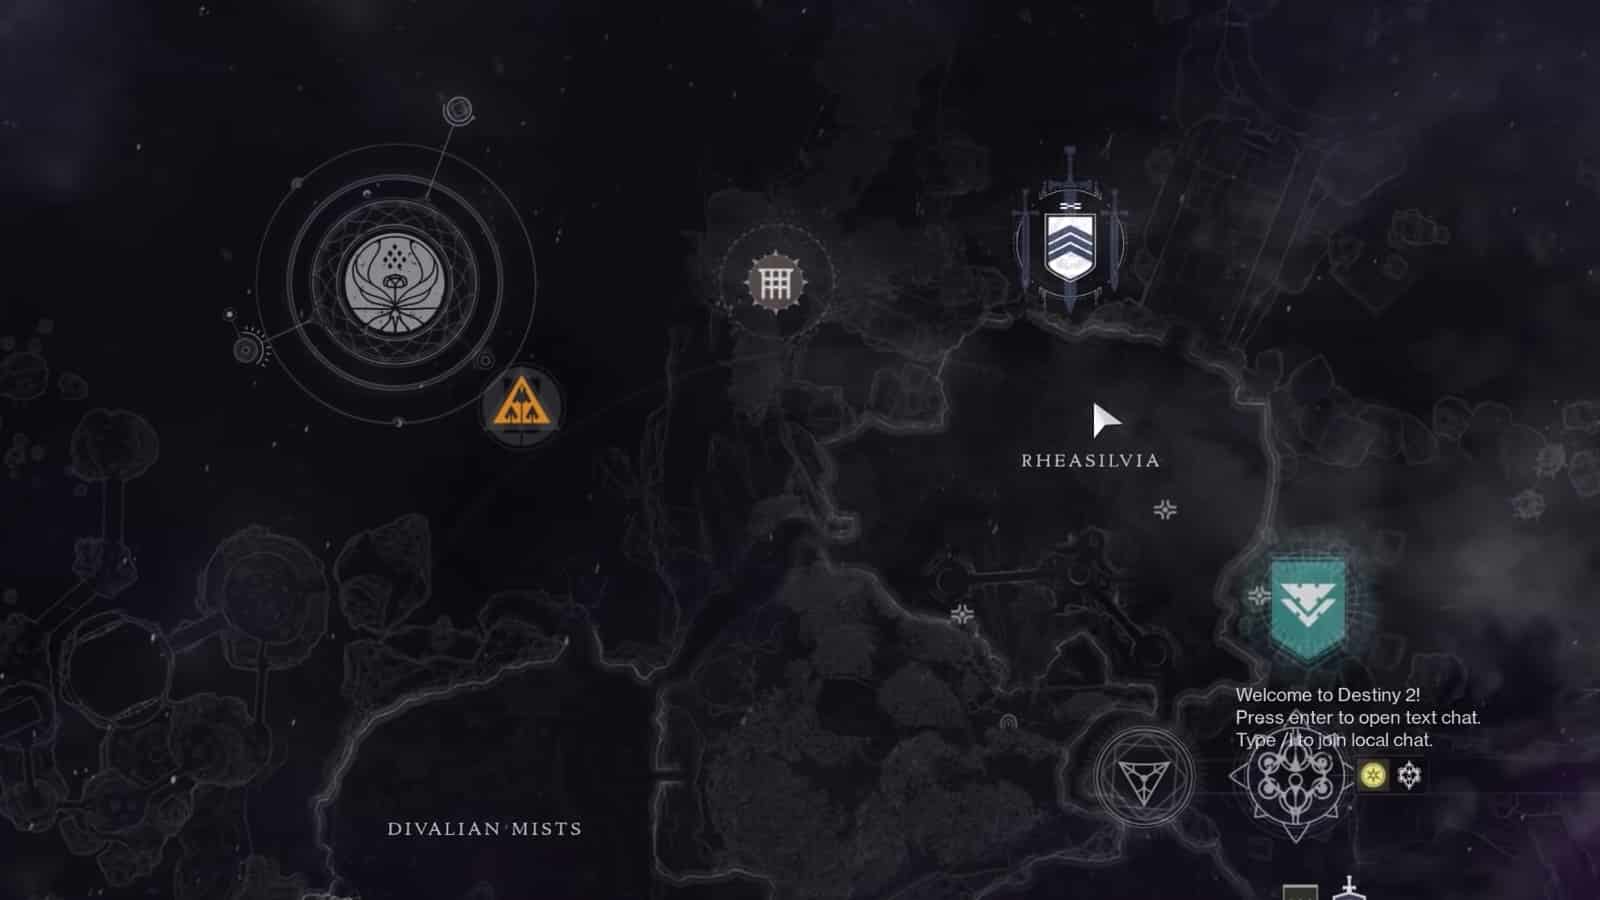
All of this week’s Skews can be found inside Rheasilvia, the northernmost point of the Dreaming City.
Every explanation will begin with the entrance to this area as a starting point.
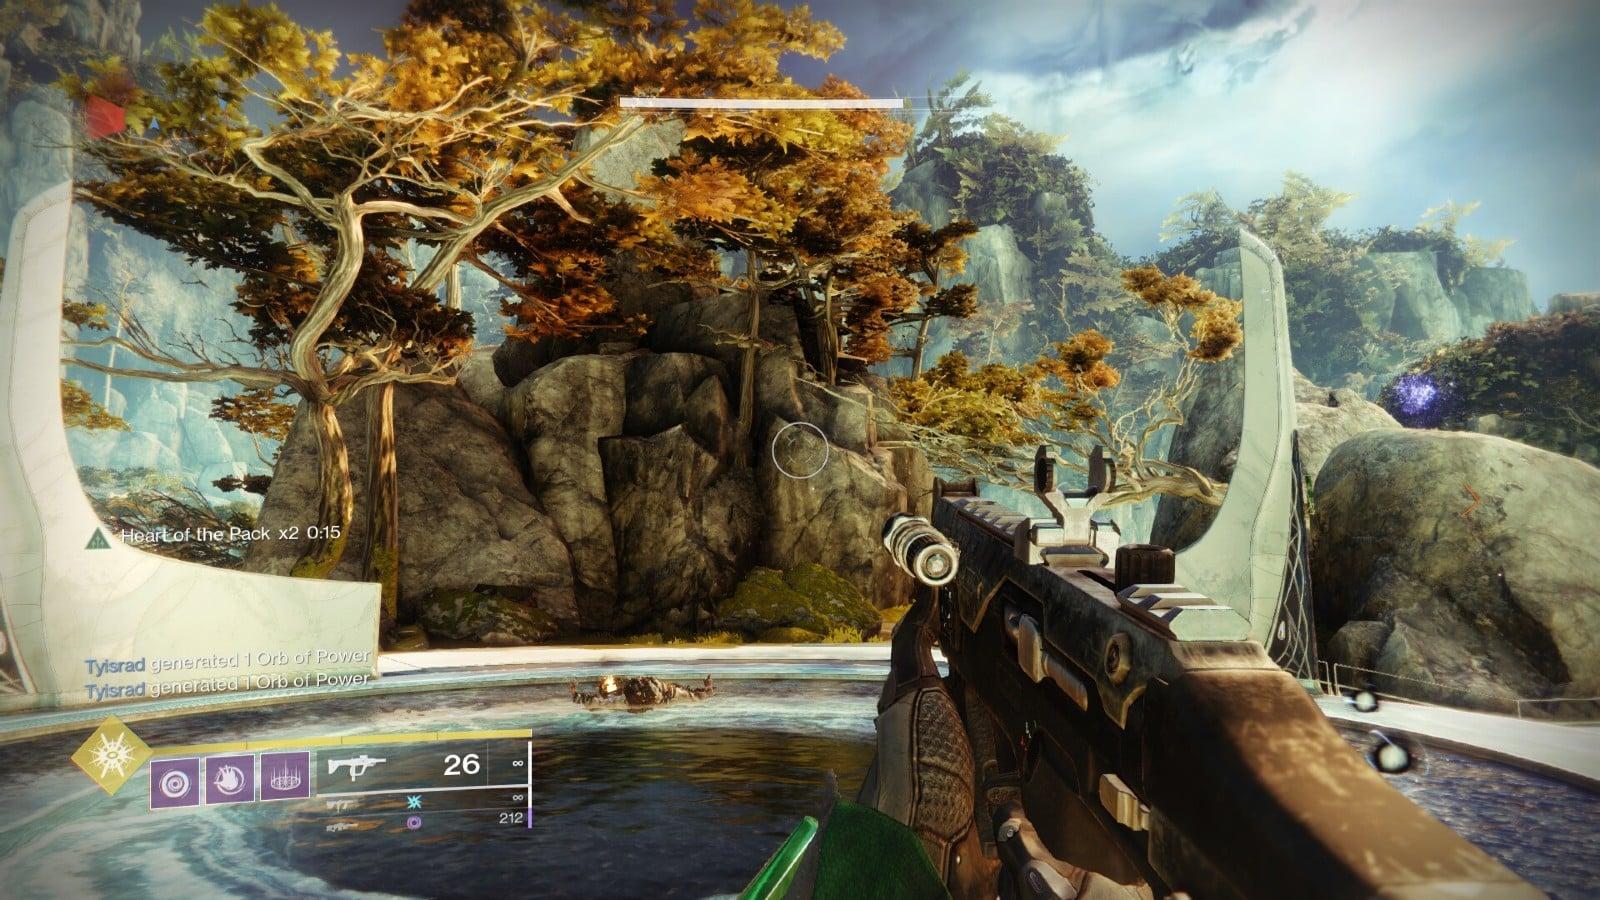
Rheasilvia Lower Level
This one is simple. In the load location for Rheasilvia, you will come across a bridge that connects the starting area to the rest of Rheasilvia. Stand on the front side of the bridge and look down below on the righthand side. You should be able to see the Skew clear as day. You may want to slow yourself as you fall as you could plummet to your death if you’re not careful.
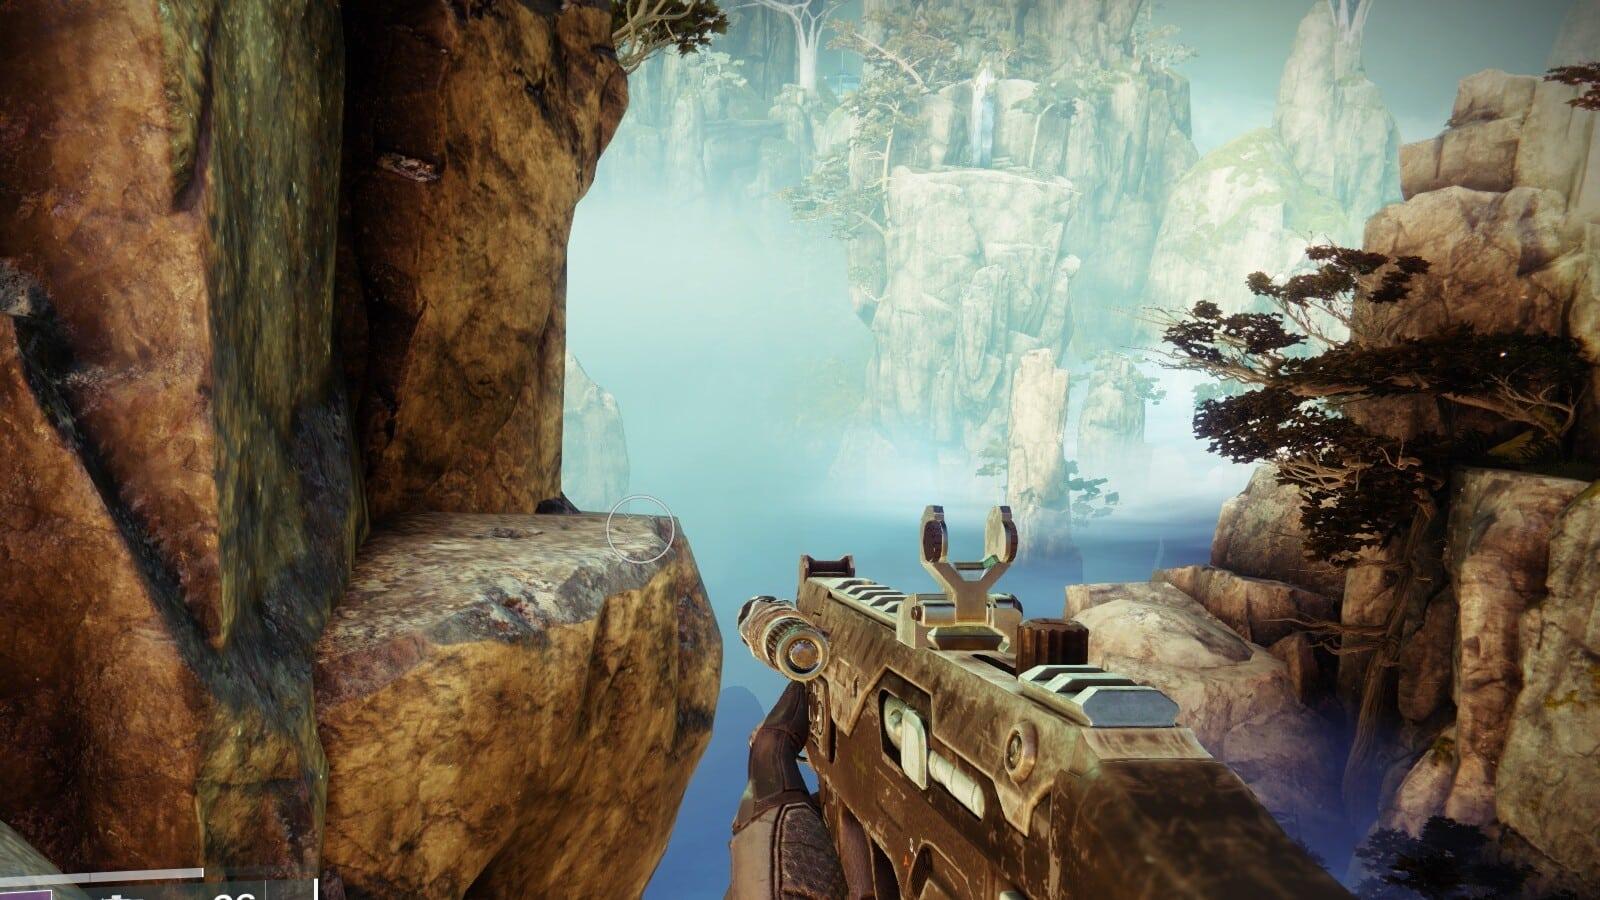
Rheasilvia Temple Outlook
 Bungie
For this Skew, cross the bridge in the starting zone for Rheasilvia and take a left toward the rock that looks out toward the entrance to the Harbinger’s Seclude area. Jump off from here and make for the platform in front of you.
There is a set of rocks on your immediate left-hand side. Boost yourself up to the top of the rocks, and you’ll find the Temple Outlook Skew waiting to be collected.
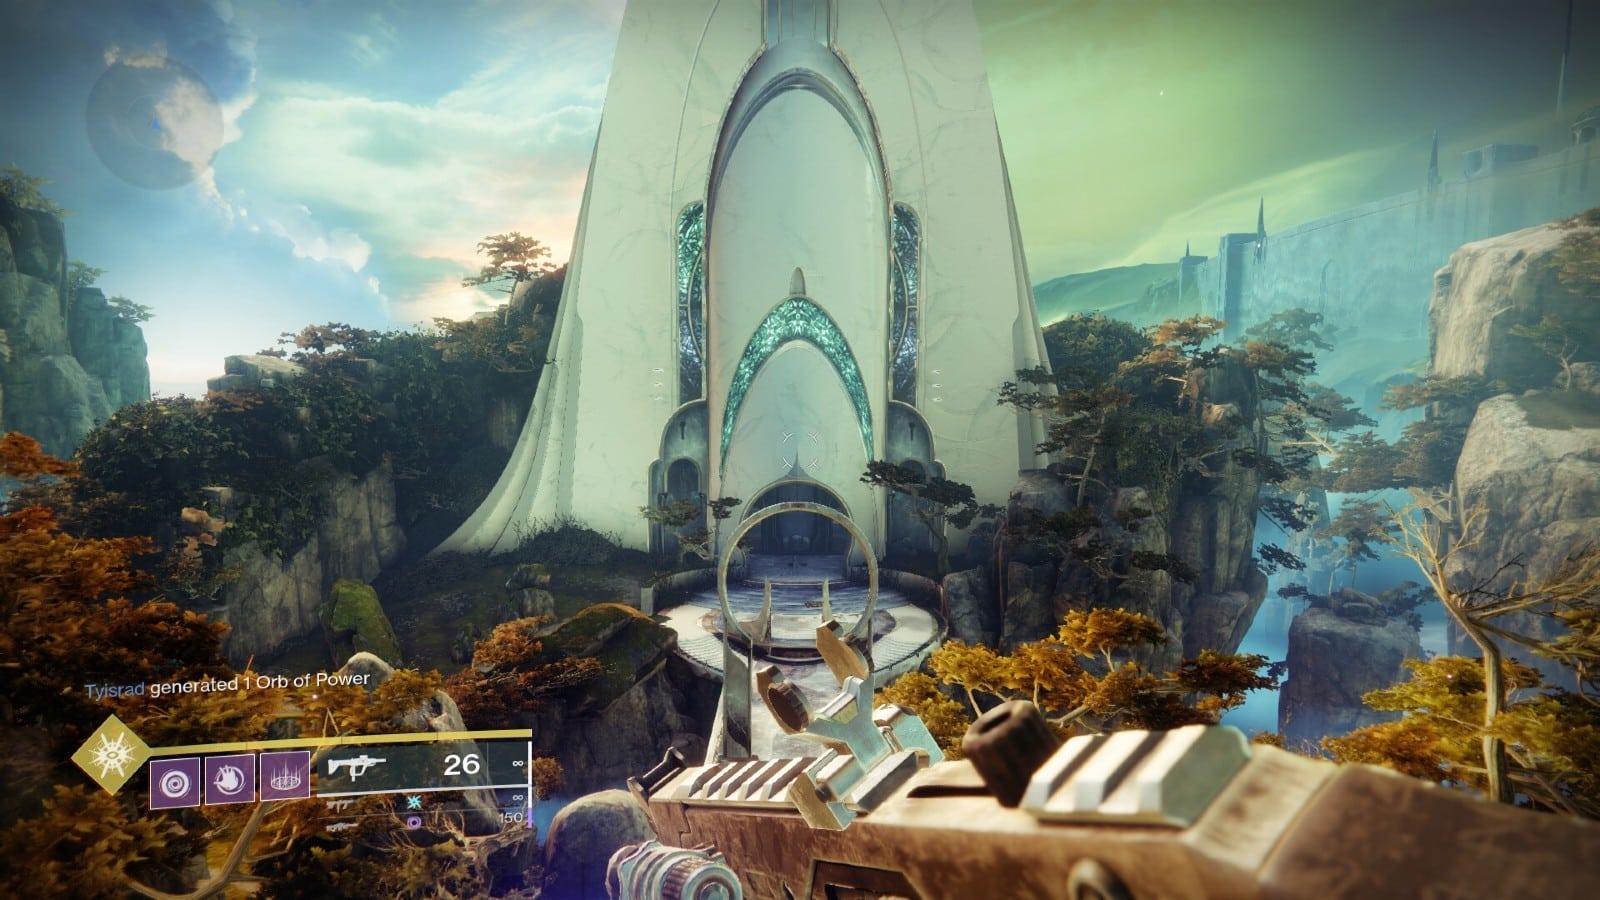
Rheasilvia Secluded Statue
 Bungie
This one will test your agility, so be ready for that. Just like the Temple Outlook Skew, head to the entrance of Harbinger’s Seclude. Bypass the first circular platform and move up to the second one. On the right side of that platform, you’ll find a rock that juts out from the wall. This is the beginning of a path to the mountainside across from you. You can’t see it from this first rock, but if you jump and boost around the edge here, you’ll find another set of rocks to land on.
Follow the rock path across to the other side. Once you’re across the gap, you’ll have another obvious rock to jump on. Then boost yourself straight up and mantle to the top of the cliffside. The Skew sits in the open at the base of the statue.
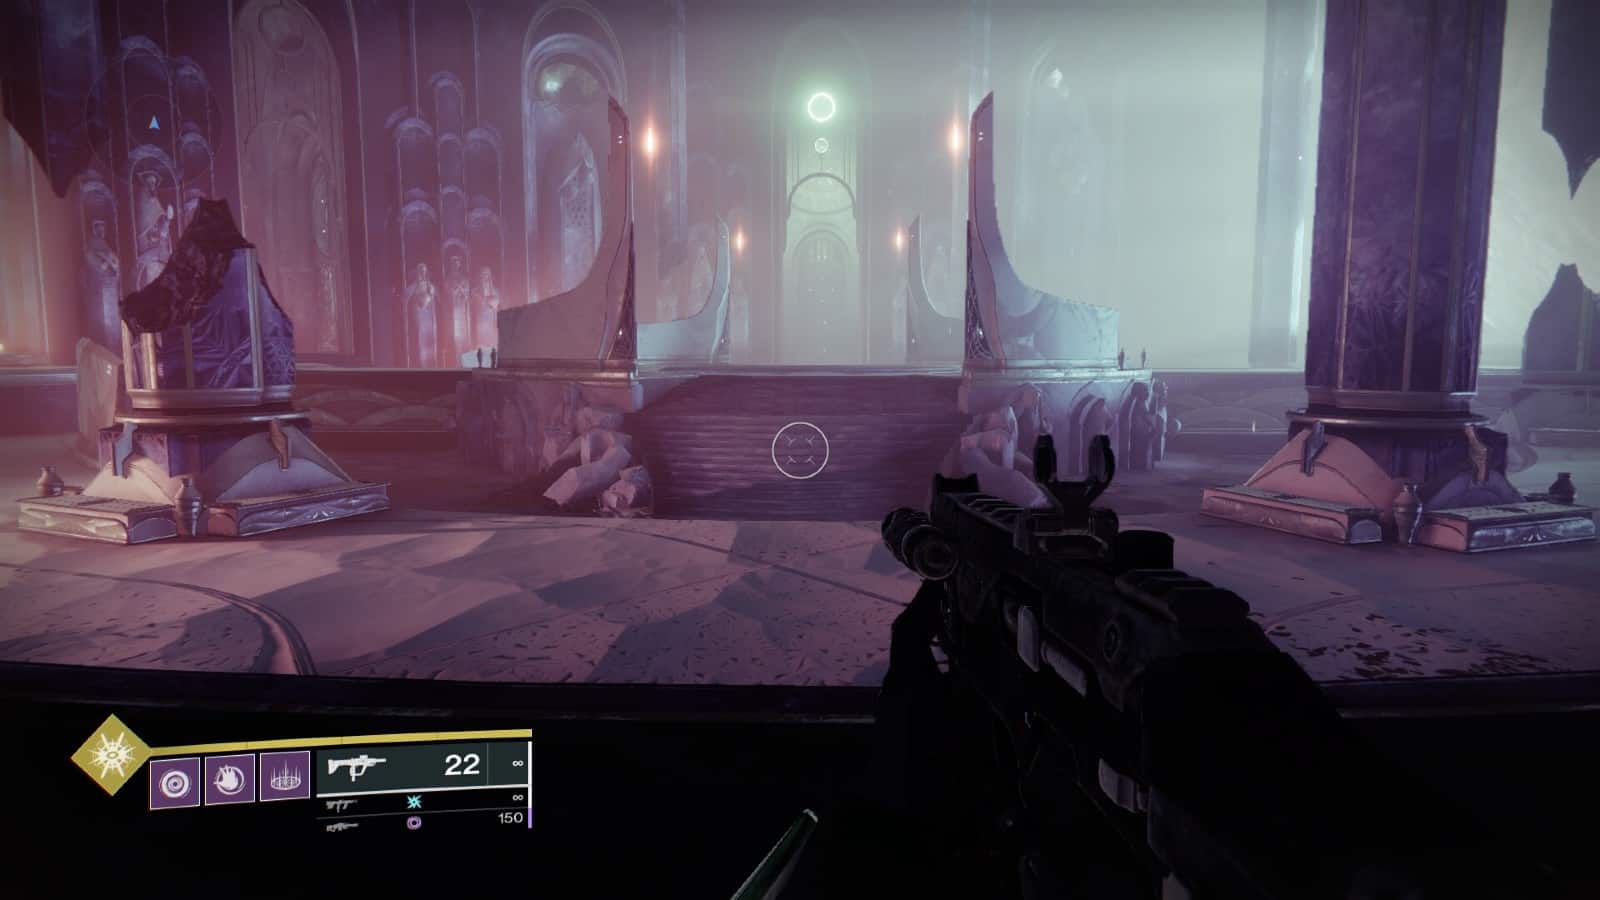
Harbinger Side Hall
 Bungie
To find this Skew, you’ll start the same way you did for the Outlook and Secluded Statue Skews. This time though, you’ll push past both of those areas and into the Harbinger’s Seclude area.
Once you’ve made it into the room where Harbinger’s Seclude begins, maneuver through the red-tinted hallway and around to the corner to the left. At the far side of the room, there is a door that leads out into an area with a large statue in the center. If you look to the right, you should find another fancy-looking room with a monolith in it. The Skew will be in the center of a ring of pillars in that room.
Harbinger Ahamkara Skulls
 Bungie
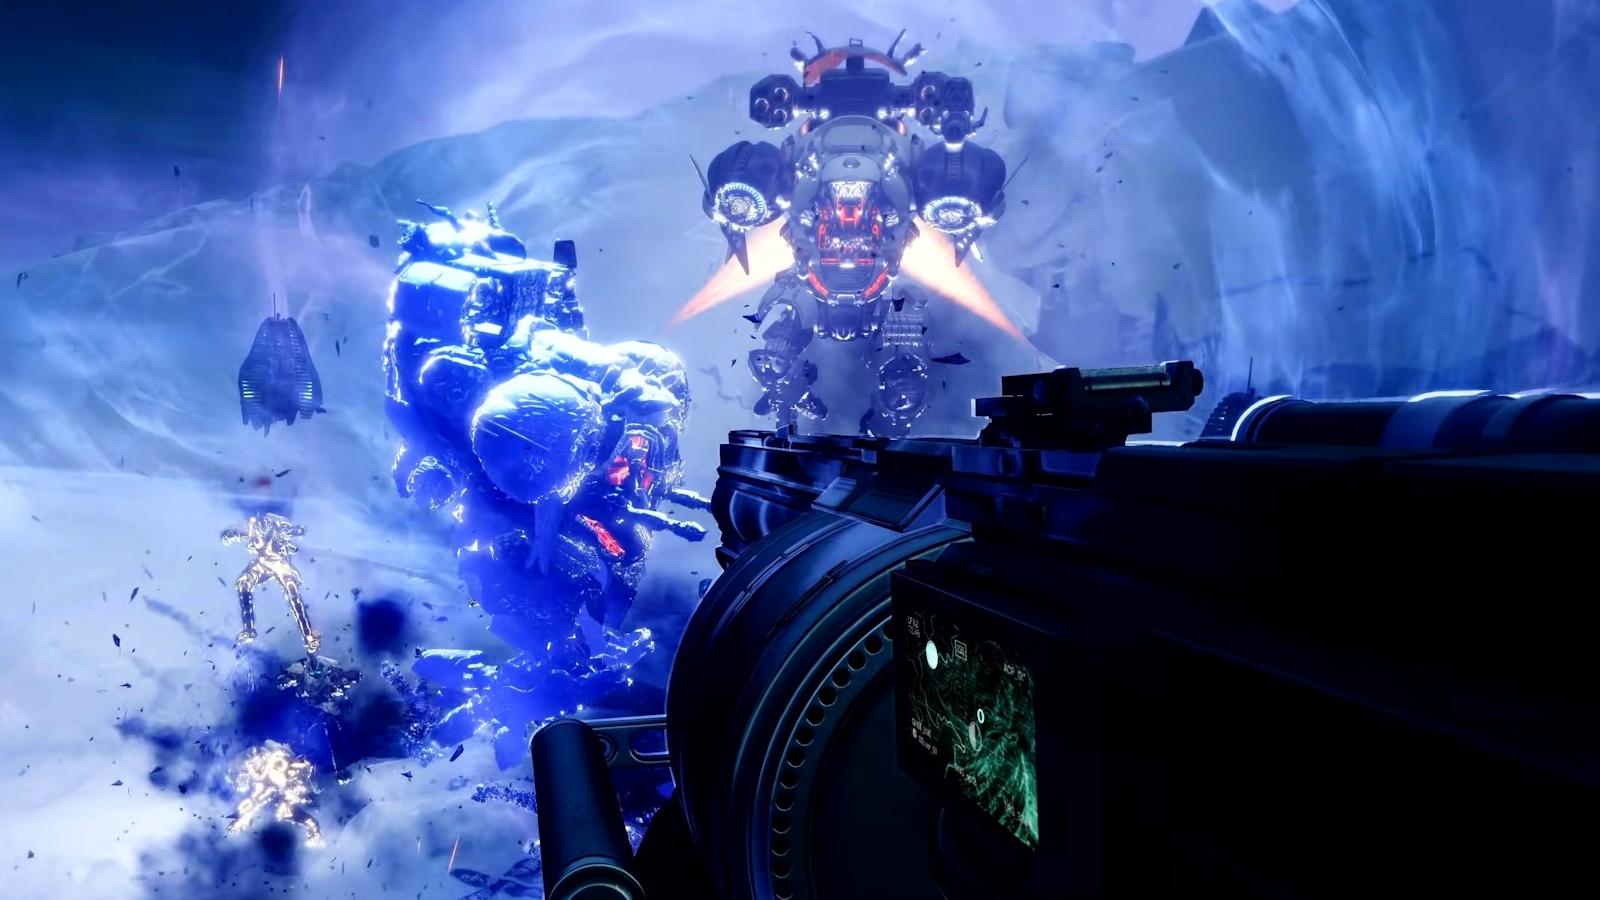
The final Skew is only a little further past the area of the Side Hall skew. Instead of entering the Side Hall room, keep straight ahead and pass through the door with the big disk over top of it. Jump to the bottom of the circular stairs and turn back the way you came. There will be a doorway that leads to a giant pit in the ground. Throw yourself into the pit and boost before you land.
Once you’re at the bottom, just continue into the next room and look toward the memorial on the left-hand side. Collect the final Astral Skew and return to the H.E.L.M. again.
Complete A Hollow Coronation again
Turn in Tracing the Stars III
 Bungie
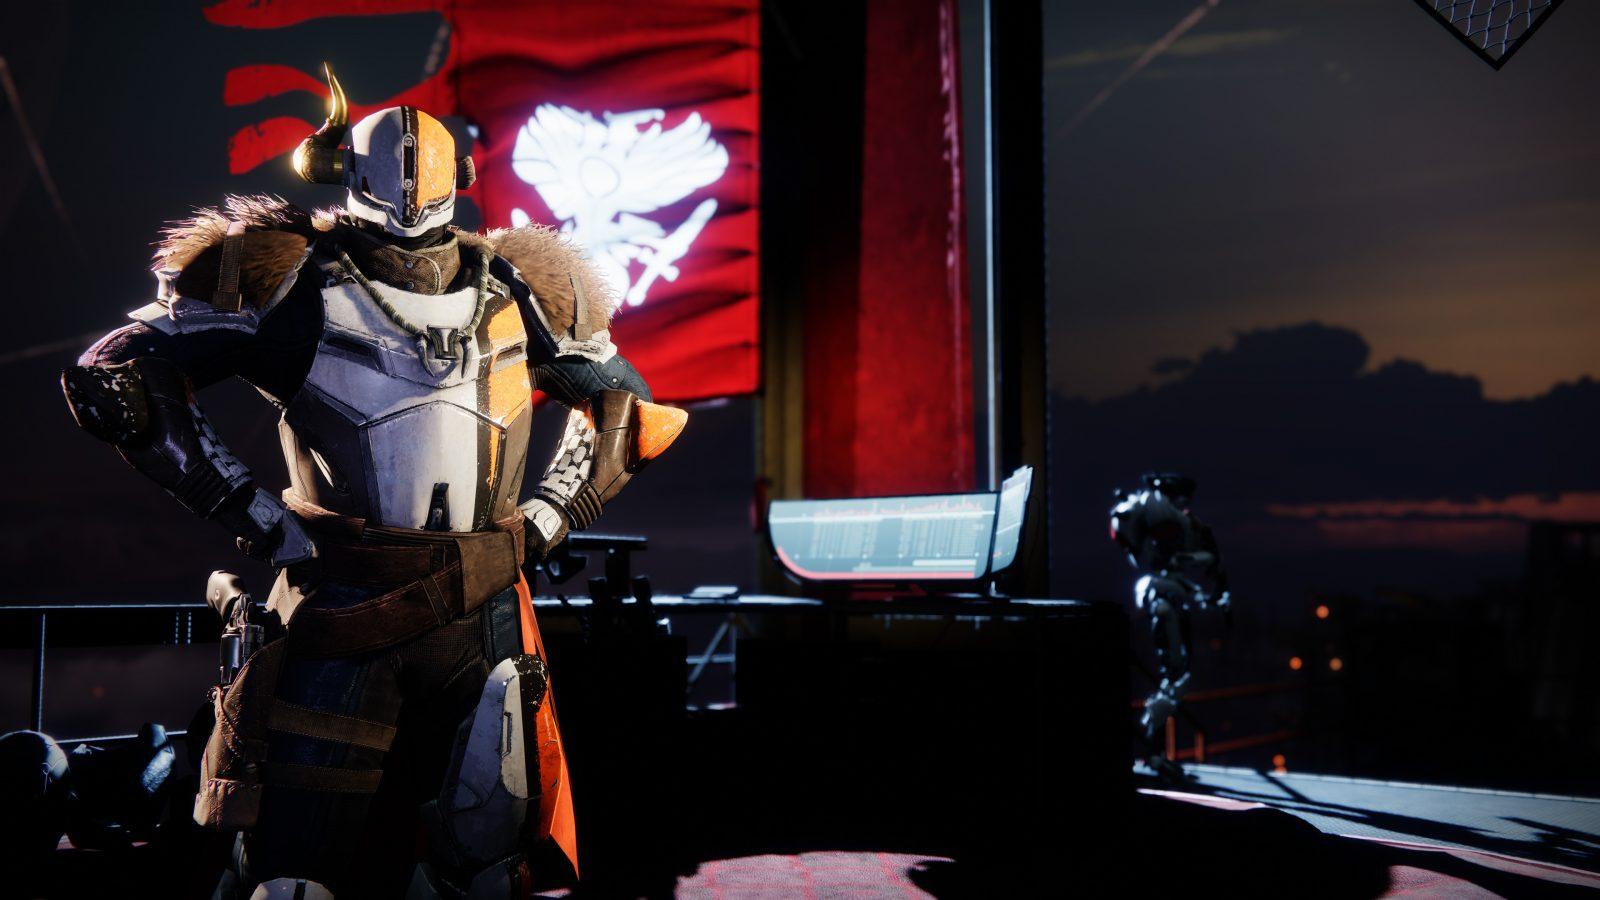
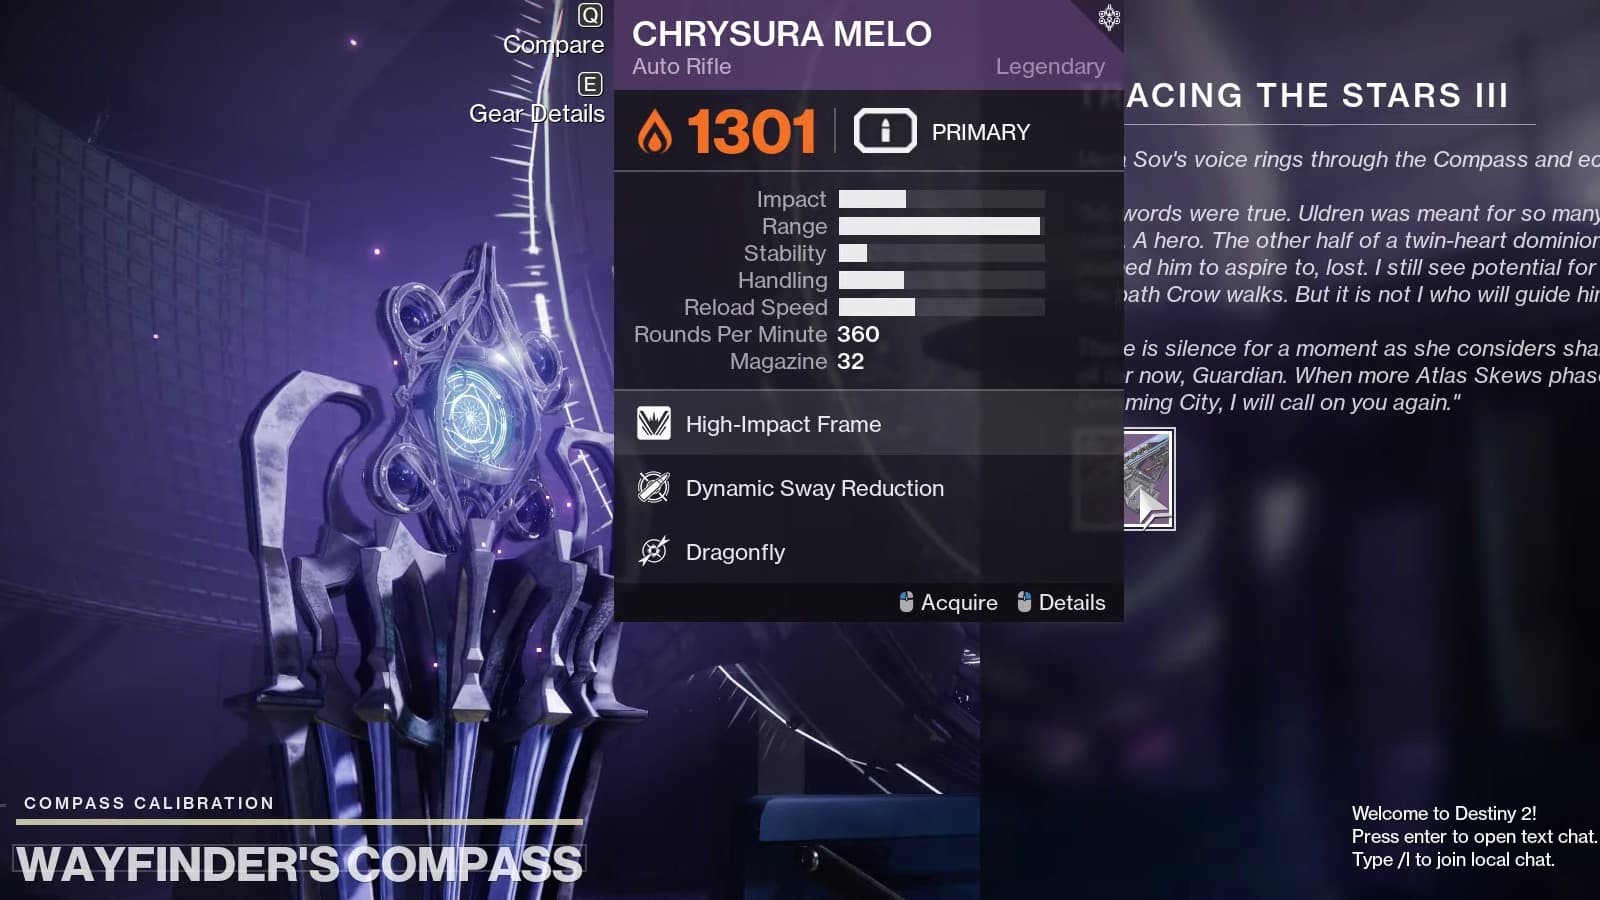
The third Tracing the Stars weapon is the Legendary auto rifle, Chrysura Melo. The variation of weapons has been nice in Tracing the Stars. Starting with the hand cannon Vulpecula, then the Legendary shotgun Fractethyst, and now Chrysura Melo, we’ve had a nice range of different rewards over the last three weeks.
That’s all for this week’s guide. Check back in next week when we tackle the final edition of Tracing the Stars and collect that sweet Exotic that waits at the end.